Getting Started: Your Auto-Debit System must be in LIVE mode before you can schedule recurring payments. See HERE if you're still in TEST mode.
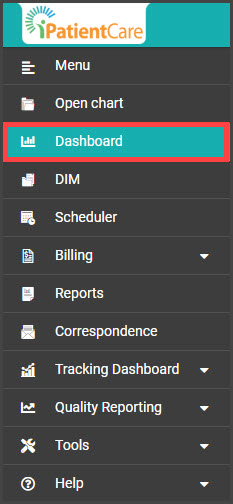
Step 1: From the menu on the left of the screen in iPatientCare, click [Dashboard].
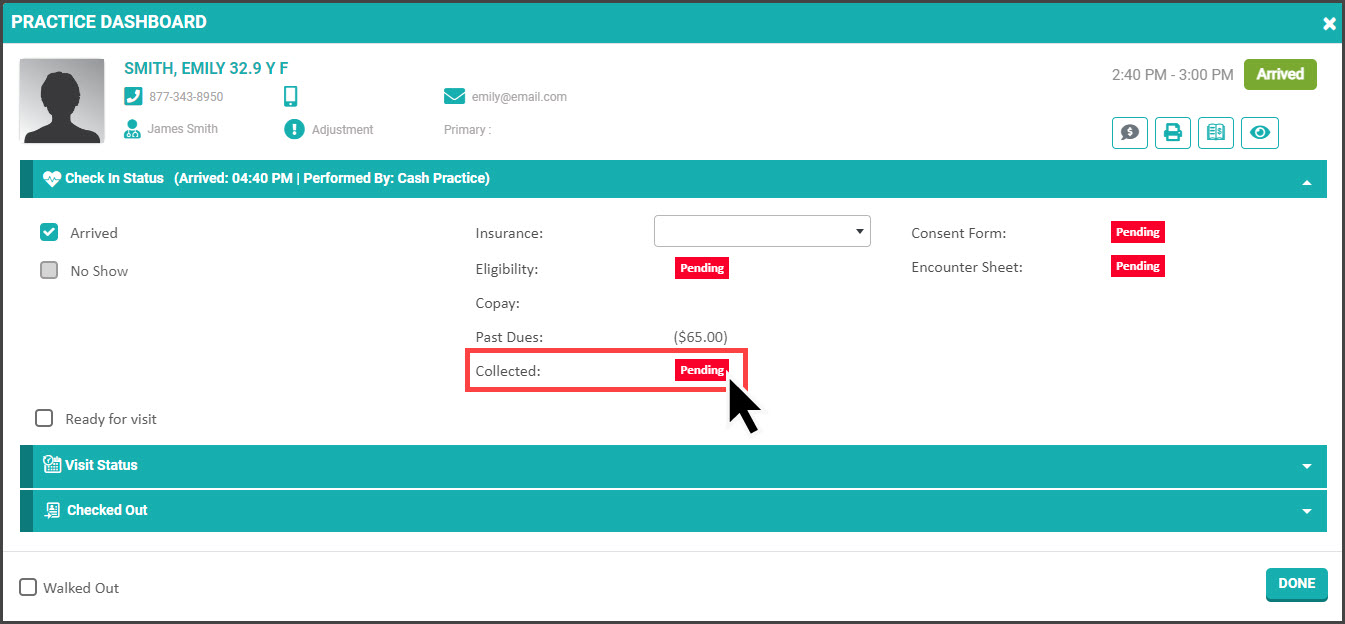
Step 2: Select the patient under the "Scheduled" column by clicking on their name.

Step 3: Proceed with all checkout steps. Once ready to collect a payment, click the [Pending] button.
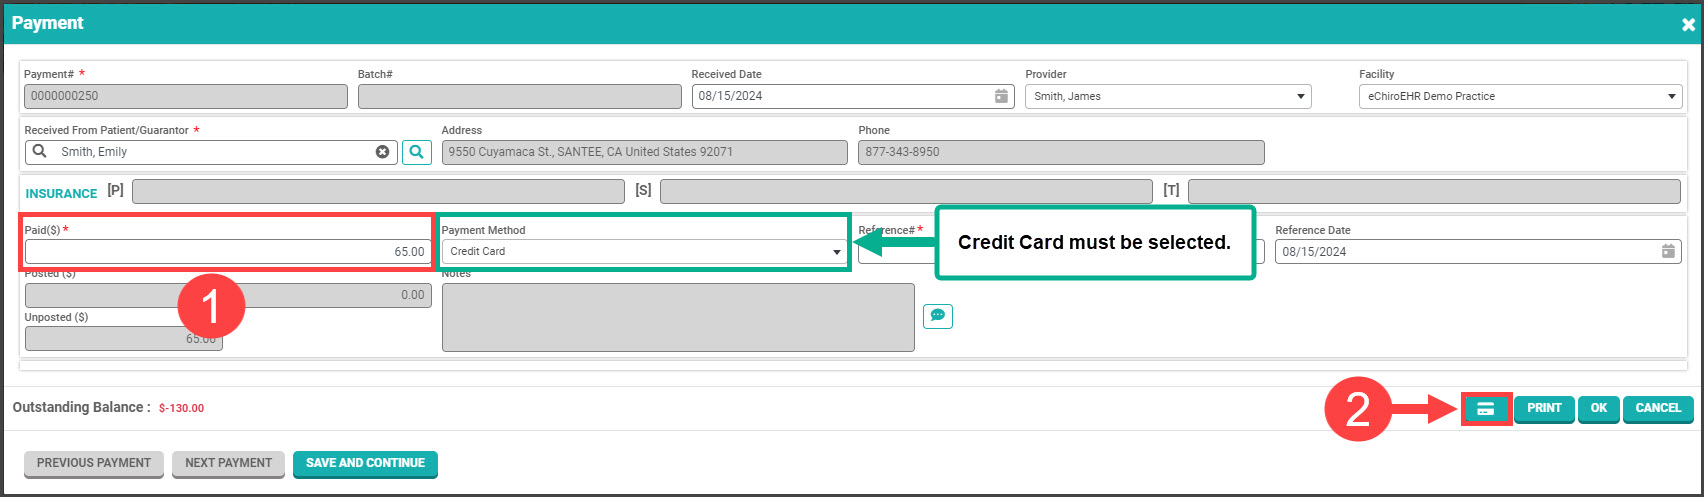
Step 4: Type the amount in the "Paid" field, then click the credit card button in the bottom right corner of the page. (Payment method must be selected as Credit Card.)
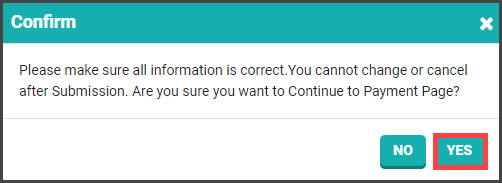
Step 5: In the pop-up window, click [YES].
Step 5: Transaction Details
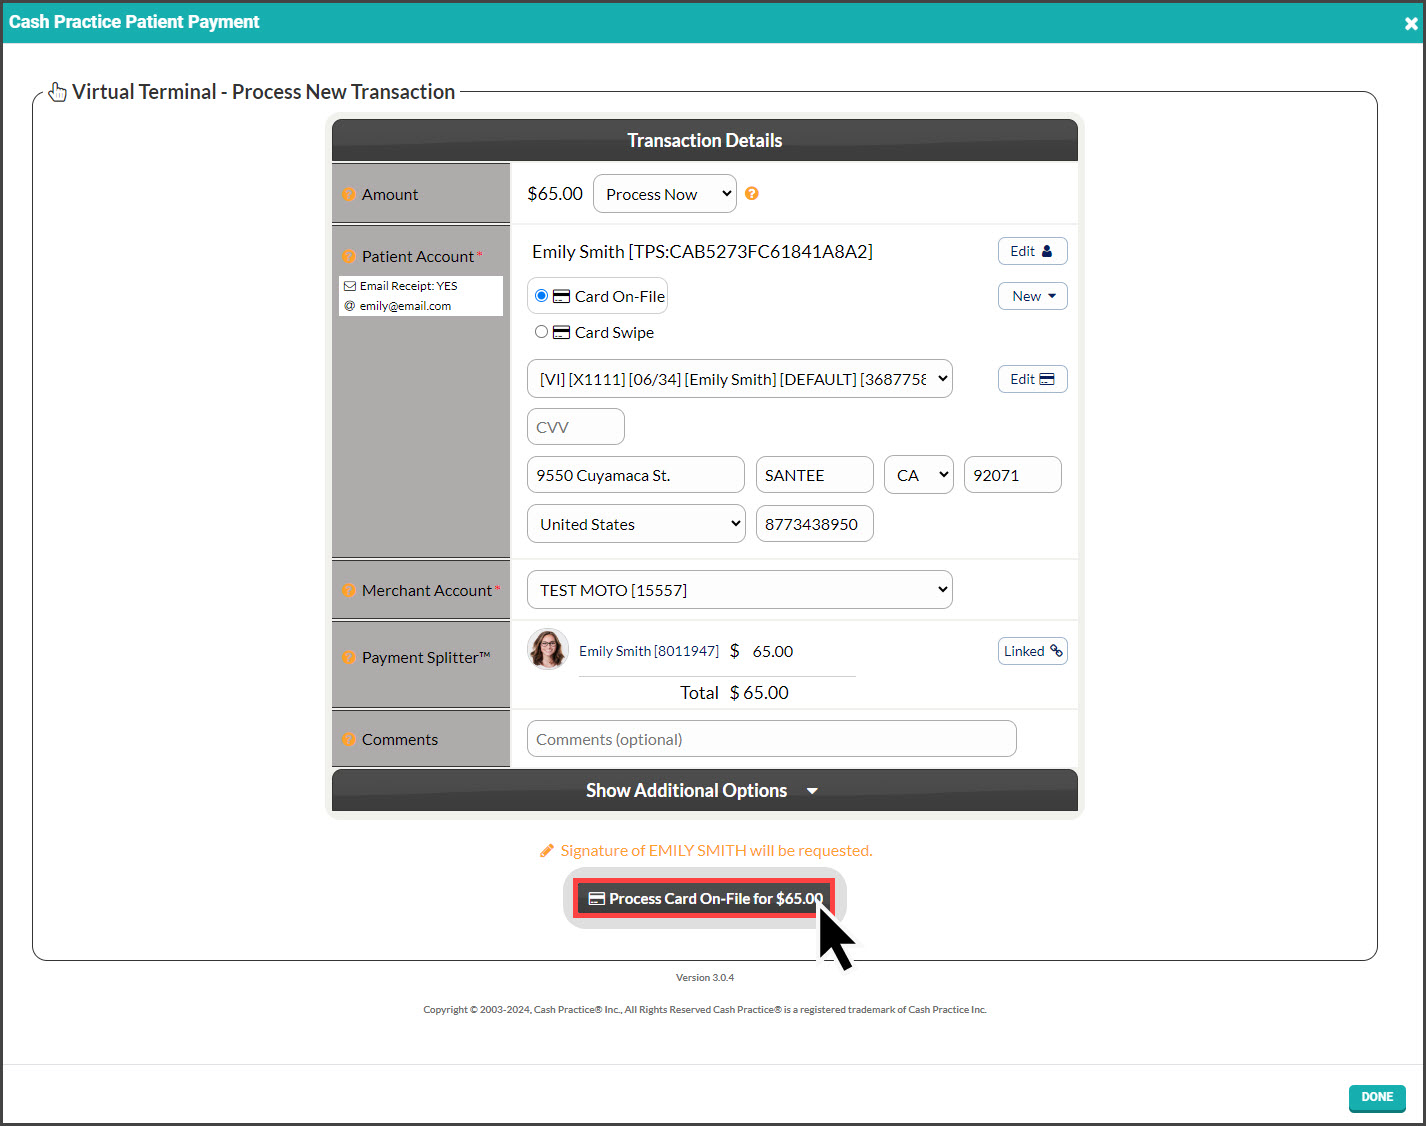
- Processing Method: Defaulted to "Process Now" with the option to select "Schedule Later" allowing for scheduling a one-time payment to run on a specific date.
-
Patient Account: The patient record will be pre-loaded based on the PatientCare account you're in.
- Amount/Payment Splitter: Enter the dollar amount for the patient here, or if you need to split the payment amongst multiple family members, follow the instructions HERE
-
Billing Type:
- Card On-File: Key-enter the credit card information OR pull stored credit card information previously saved on file in the patient account. Click the [New] button to add new information to the Billing Vault
- Card Swipe: Use a Cash Practice® USB Card Swiper or Scriptel Signature device to swipe a card and collect payment information for the payment.
- Card EMV: (not shown) Select this option if using one of our integrated EMV chip terminals. You will be prompted differently on how to process the payment.
- Merchant Account: The correct merchant account will be pre-selected by default. MOTO is for card-on-file or manually entered cards, and RETAIL is for physically swiped cards.
- If you use multiple merchant accounts with us, make your selection here. For more information, contact our Merchant Services Department by phone at (877) 343-8950 x105) or email MerchantAccounts@CashPractice.com
- Comments: (OPTIONAL) Add a comment for your team's eyes only. This will be displayed in the Posted Payments Report when the transaction details are reviewed in the future.
Step 6: Click the [Process] button at the bottom of the screen and click [OK].
Step 7: (OPTIONAL) Capture the [e-signature] from the patient.
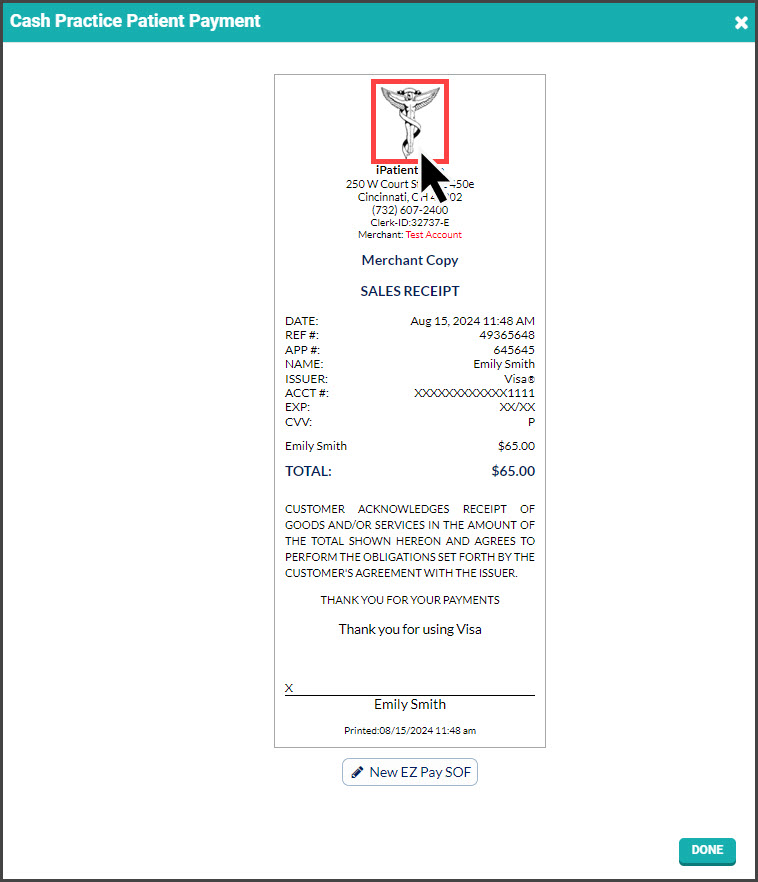
Step 8: If needed, print the receipt by clicking on the company logo at the top. Once finished, click on the X in the window's top right corner or the [Done] button at the bottom right. The transactions must be imported daily to post in the patient's account in iPatientCare, and the Dashboard of Cash Practice will automatically be posted.
- The receipt will be emailed to the patient depending on your Auto-Debit System Settings.