As outlined in our Pre-loaded Marketing Material and Forms article, patients, patients, or potential new patients may purchase Gift Cards through a CP Online Form™ which then, in turn, notifies your office of the purchase. The steps below represent what the purchaser sees as well as the action the team will take to manage the Gift Card purchase transactions.
Let's get started:
Purchaser:
The Purchaser fills out the Online Form, which is accessible from two places
- Through the pre-loaded marketing email (available for members with the Drip-Education System®).
- OR from a direct link to the CP Online Form™ which is loaded for members that have the Auto-Debit System®. The form will only work if you have an active MOTO merchant account.
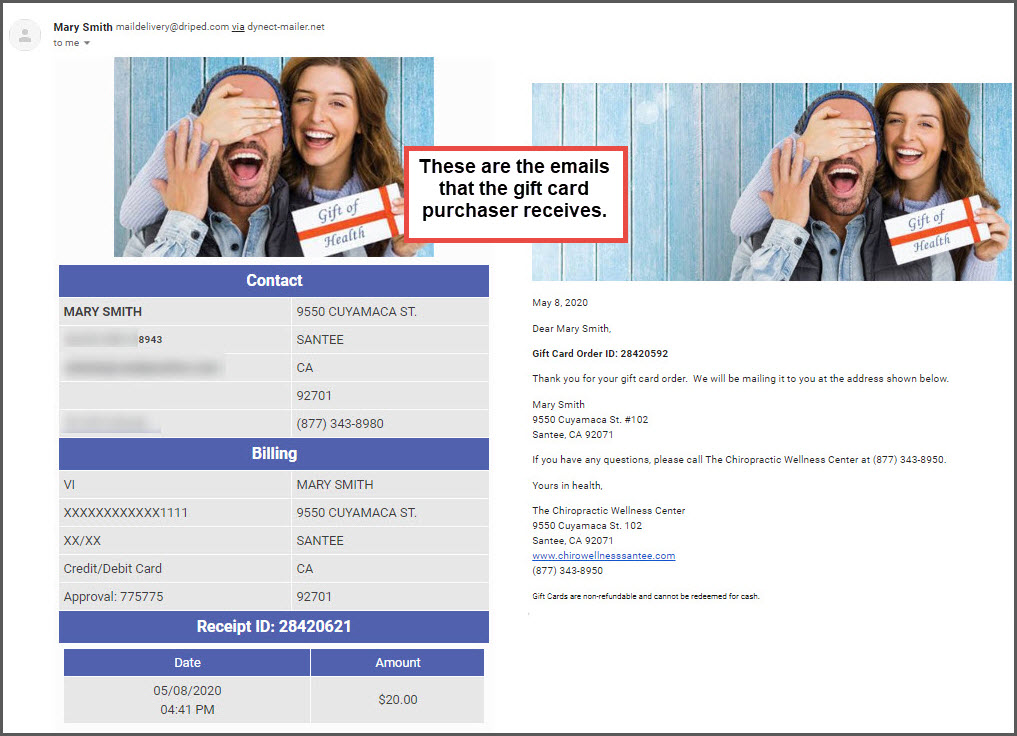
Once the purchaser completes filling out the online form, their screen will display a confirmation page for the purchase as well as they will receive two emails. Examples below:
Your Office:
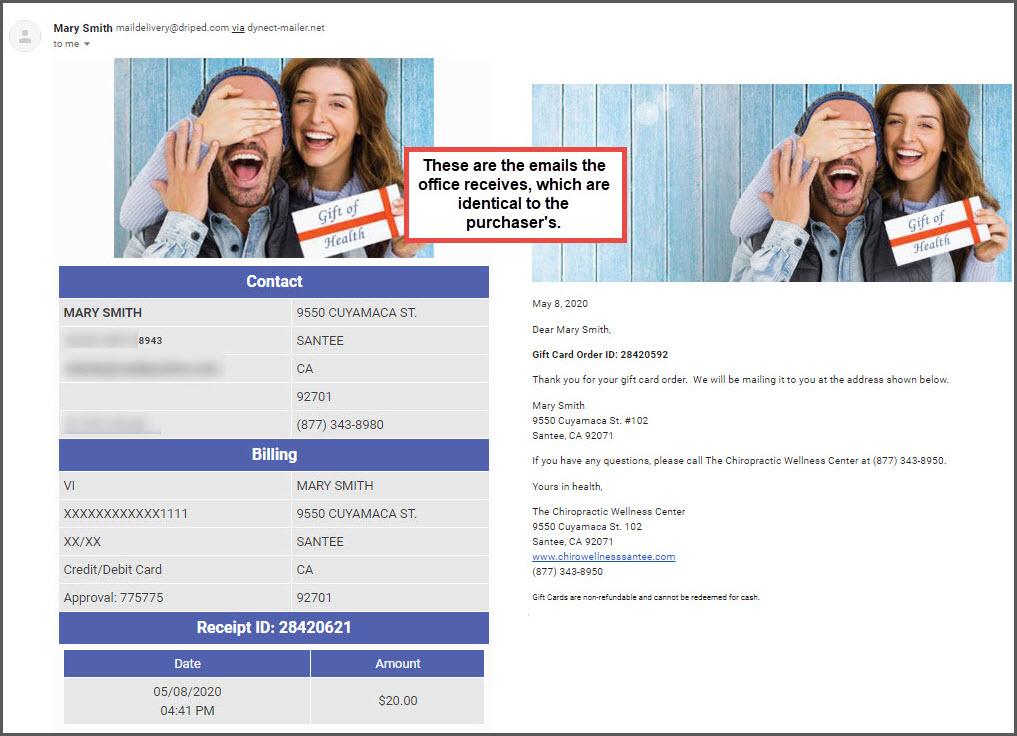
Your office will receive an email that looks like this:
The email is a reminder to the CP Account Owner or qualified team member to log into CashPractice.com to take further action in assigning a Gift Card to the transaction in order for it to be used.
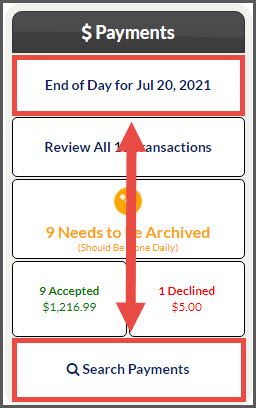
Step 1: From the Dashboard, click on the [End of Day for MM/DD/YYYY] button if the online gift card purchase occurred the day of. If the online gift card purchase occurred on a previous day, click on the [Search Payments] button which will allow you to search the transaction.
Step 2: [Search Payments] option: Narrow down the search by any of the following applicable options.
NOTE: Click on the [Show More Search Options] button for additional search criteria.
- Transaction Date: Narrow the time window for the search
- Storage: ALL
- Amount: This is listed in the email sent to the office/team
- Payment Tool: Select CP Online Forms™ from the drop-down menu
- Auto-Debit Groups™: Gift Cards Purchased
Click [Search].
Step 3: The page will load the search results. Locate the transaction that needs to be assigned to a physical gift card. This will be apparent from the gray button appearing in the [Amount] column.
Step 4: Click on the [Assign Gift Card] button.
Step 5: Either swipe or key-enter the new Gift Card that is to be assigned to the transaction.
Step 6: The screen will reload with a message stating that it was loaded successfully. Close the window to continue.
Step 7: The transaction page behind will re-load to now list three additional things:
- The date and time the transaction was assigned to a Gift Card
- Last four digits of the Gift Card
- The current card value
Step 8: Once finished with assigning the transactions to Gift Cards, proceed with archiving.
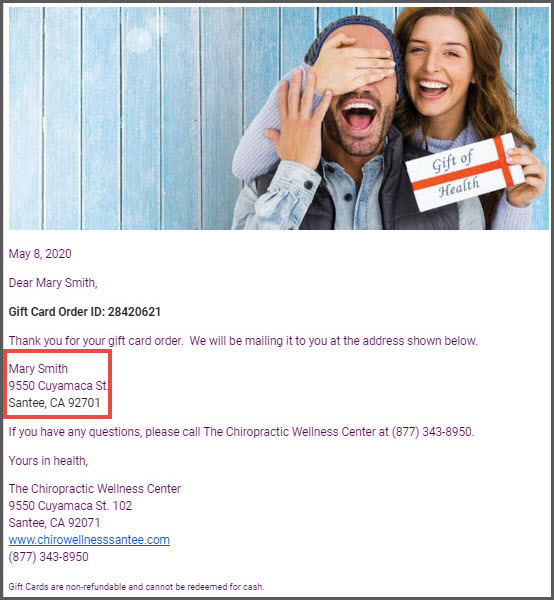
Step 9: It is now your office's responsibility to physically mail the Gift Card to the purchaser or give it to them in person. The email received by your office includes the shipping address to mail the card to when the purchaser completes the form.


