
If you would like to customize your emails beyond simply adding in content or images, branding is just the right touch to convey the overall message. (See the last image on this page for an example of what a custom-branded email looks like.)
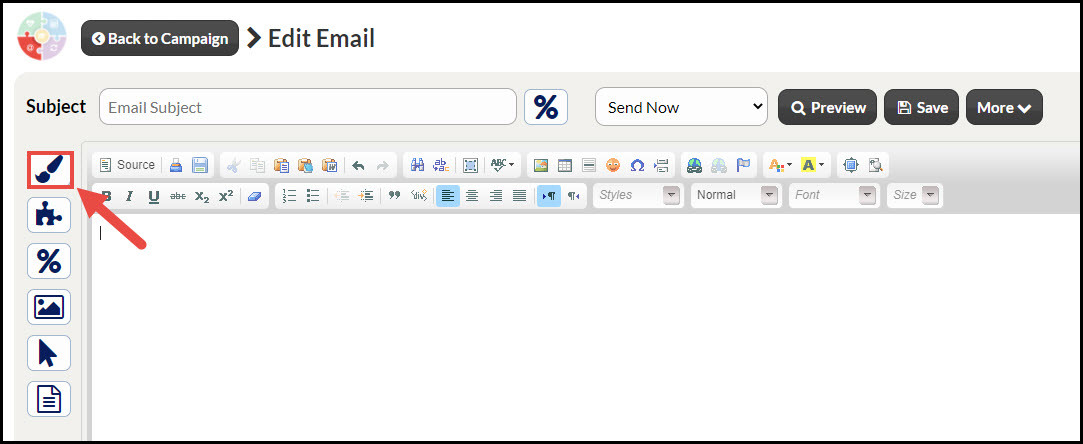
Step 1: From the campaign editor, you will have the ability to brand the campaign or broadcast email by selecting the Paintbrush icon on the left side of the screen, shown below.
Step 2: From the newly loaded window, move through the options listed:

1. Background Color: The default background color will be gray, specified here as D9D9D9. Select the alphanumerical box to bring up a color selection field. Here, specify your desired color, and the background of this page will be updated with the color selected.

2. Send To Friend Button: Select either (L)eft, (C)enter, (R)ight, or blank to specify the location of the Send To Friend Button or remove it altogether. It will default to the left.
3. Message Container Corners: From the 4 options listed here, select the desired corner sharpness.
4. Message Container Alignment: The default will be (C)enter, but it can be changed to either (L)eft, or (R)ight.
5. Message Container Margins: Specify the thickness of the margins around the message box.
6. Message Container Border: 3 options listed here.
- Type of border: None, solid, dotted, dashed.
- The thickness of border: thin, medium, thick.
- The color of the border: Use the color selection field and scale to select your desired border color.
7. Disclaimers: Determine whether or not you would like to show, or not show disclaimers.
8. Footer Alignment: The default will be at the (C)enter, but the option to select (L)eft or (R)ight is available.
Step 3: Once finished, select the [Save & Preview] button to view and save all updates or changes made.
Custom Branded Example: The end result is a perfectly tailored message that your patients will be happy to read.
