
In order to add words next to a picture in a column format, you will need to create a table within your content editor. To bypass this process and use our premade templates, click HERE.
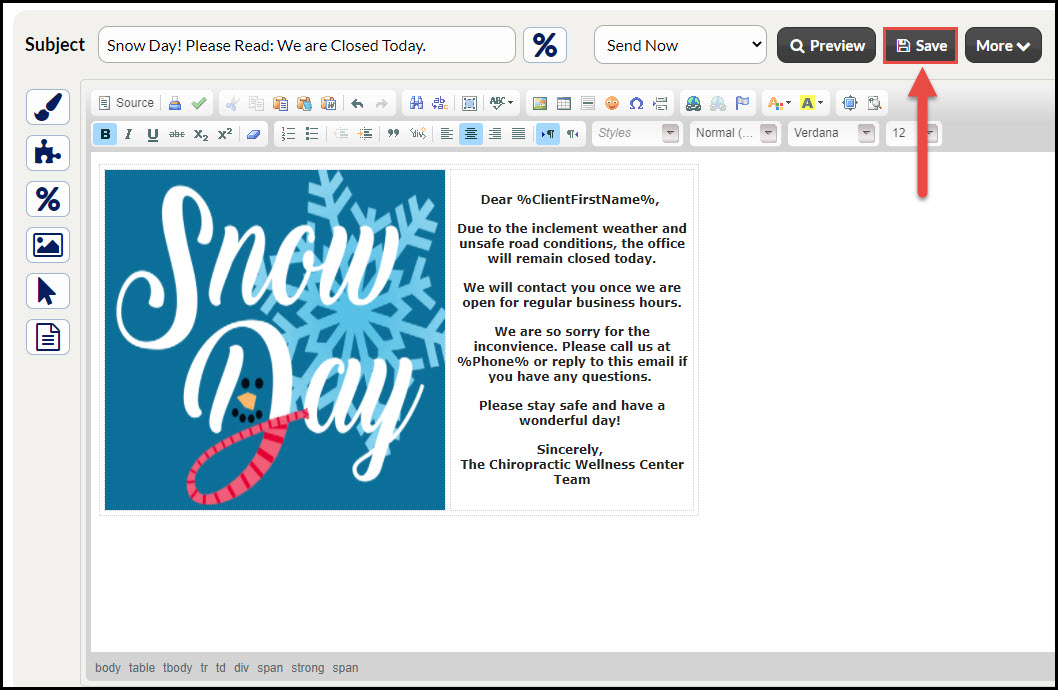
Below is an example of a finished campaign/broadcast email using a table, as well as instructions on how to use this feature within your account.

Step 1: From the campaign editor, you will have the ability to add a table to your email content.
Step 2: Select the "Table" option from your email editor menu. This will display the table properties window.

Step 3: Specify how many columns and rows you would like your content to be displayed in.
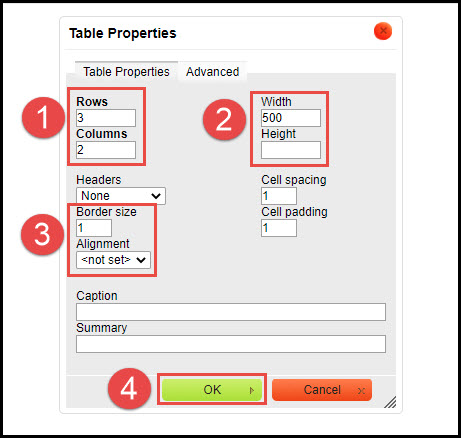
1. Rows & Columns: Edit the number of Rows and Columns. This tool will default to 3 rows and 2 columns. If you simply would like a side-by-side effect, change this to 1 row and 2 columns.
2. Width & Height: Modify the Width and Height of the table. The default is 500.
3. Border Size & Alignment: The default Border size is 1. This will be a thin line border around your content. If you would like to thicken this, increase the number. If you would like an invisible border unseen by your readers, minimize the number to 0. Alignment: Choose from <not set>, Left, Center, or Right.
4. Once finished, click the [OK] button to save your table settings.
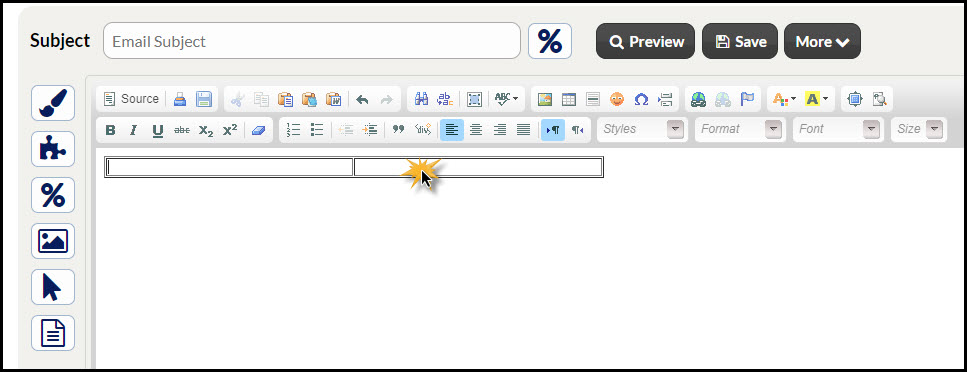
Step 4: Add content. Your table may look something like the image below. Click either box to start adding images or words. Click HERE for instructions on how to add images to the content editor.
Step 5: Save your Campaign or Broadcast email by selecting the [Save] button from the top list of options.
Tips: Add branding, templates, variables, and images to your emails for a truly customized and professional feel.