
What is the purpose of a Broadcasted email?
A Broadcasted Email is a one-time email blast. Sending a Broadcast email through the Drip-Education® System is a great way to update all of your patients/patients or a group of patients at once. Examples of broadcasted emails include important announcements (New Business Hours, Promotions, Customer Appreciation Day, etc.). Follow the steps in this article to learn how to send a Broadcast email through the Drip-Ed™ System!
Getting Started:
Step 1: Hover over [Systems] → click on [Drip-Education® ] → [Send New Broadcast].

Step 2: Create a Broadcast email to send a customized email to your patients.
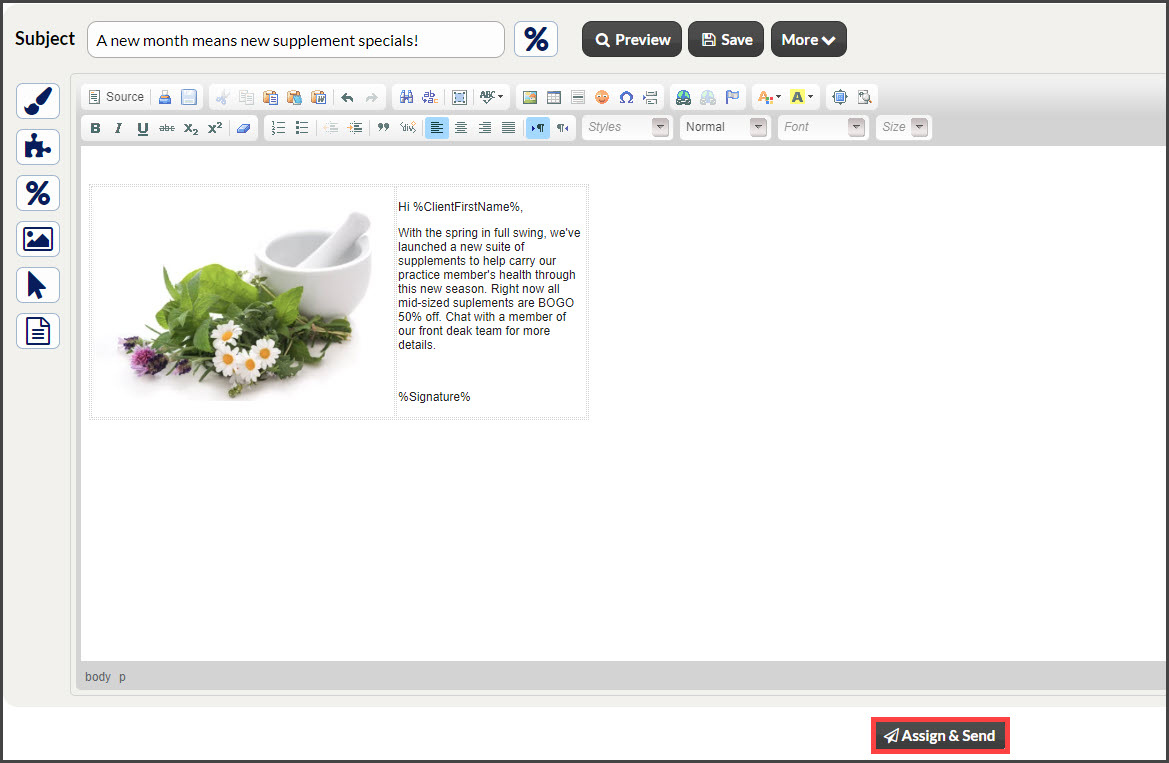
- Subject - Enter the subject of the broadcast (i.e. OFFICE CLOSED MONDAY).
- Text Body - Create email content. Here, you can type whatever message you would like to send to your patients. You may also include images/variables/templates from the assigned libraries, save the broadcast to your Broadcaster Library, or load an auto-saved draft that you thought you might have lost, accidentally!
- (Optional) Email Settings: Choose to change the email setting that comes prepopulated in the account by clicking the [Email Settings] button. the email settings include:
-
From Name, From Email, Reply-To Email, Alternate Destination Email, On Open Assign Patient To
-
Step 3: When you're finished, click the [Assign & Send] button.
Step 4: Assign Patient Group
- Select Member: If you have more than one member on your Cash Practice® account, choose who the broadcast is coming from.
- Assign To: Choose which list of patients you want to assign the broadcast to from the drop-down menu.
- Assign Linked Patients: Do you want to Assign the Campaign to any patients linked to the patients defined by the Assign To selection? If so, select Include, otherwise Skip.
- Campaign Start Date: A broadcast date is set to be sent on the same day as it was created. If you would like this to be different change it here OR select B-day.
Step 5: Click [Send].
