
The setup allows you to customize the Drip-Ed™ System email branding, headers, signatures, footer disclaimers, and social media links.
Your account has been pre-loaded with general settings that work for most users however, you can customize the settings by following these instructions.
Getting Started: From the [Systems] menu → select [Drip-Education®] → [Setup] → [DES Settings].

Step 1: Branding
Branding your emails allows you to create a customized format for your emails.
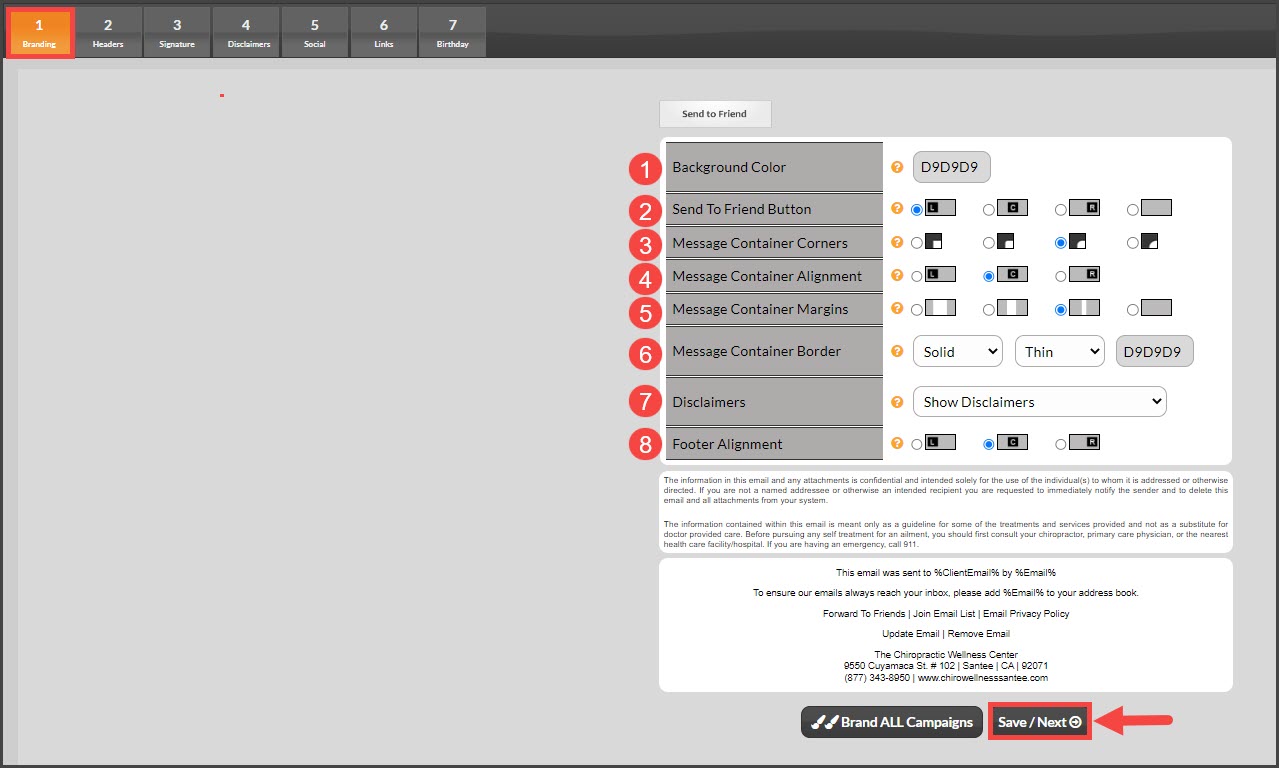
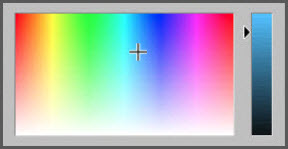
1. Background Color: The default background color will be gray, specified here as D9D9D9. Select the alphanumerical box to bring up a color selection field. Here, specify the gradiation of your desired color and the background of this page will be updated with the color selected.
2. Send To Friend Button: Select either (L)eft, (C)enter, (R)ight, or blank to specify the location of the Send To Friend Button or remove it altogether. It will default to the left.
3. Message Container Corners: From the 4 options listed here, select the desired corner sharpness.
4. Message Container Alignment: The default will be (C)enter, but it can be changed to either (L)eft, or (R)ight.
5. Message Container Margins: Specify the thickness of the margins around the message box.
6. Message Container Border: 3 options are listed here.
- Type of border: None, solid, dotted, dashed.
- The thickness of the border: Thin, medium, thick.
- The color of the border: Use the color selection field and gradation scale to select your desired border color.
7. Disclaimers: Determine whether or not you would like to show, or not show disclaimers.
8. Footer Alignment: The default will be at the (C)enter, but the option to select (L)eft or (R)ight is available.
Once finished, select the [Save/Next ] button at the bottom of the page.
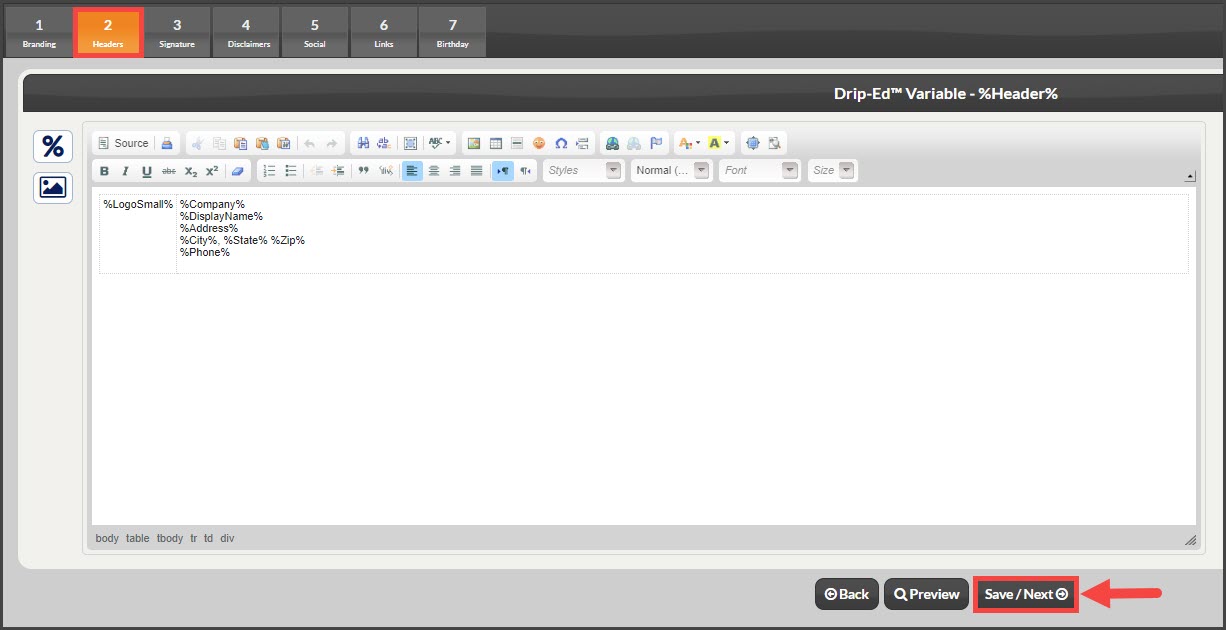
Step 2: Headers
A Header is a pre-created topping for your email campaigns and can be inserted into your emails whilst using the pre-made content from the Drip-Ed™ Campaign Library, or when formulating Campaigns or Broadcasts from scratch.
When done creating and approving your header, select the [Save/Next] button at the bottom of the page.
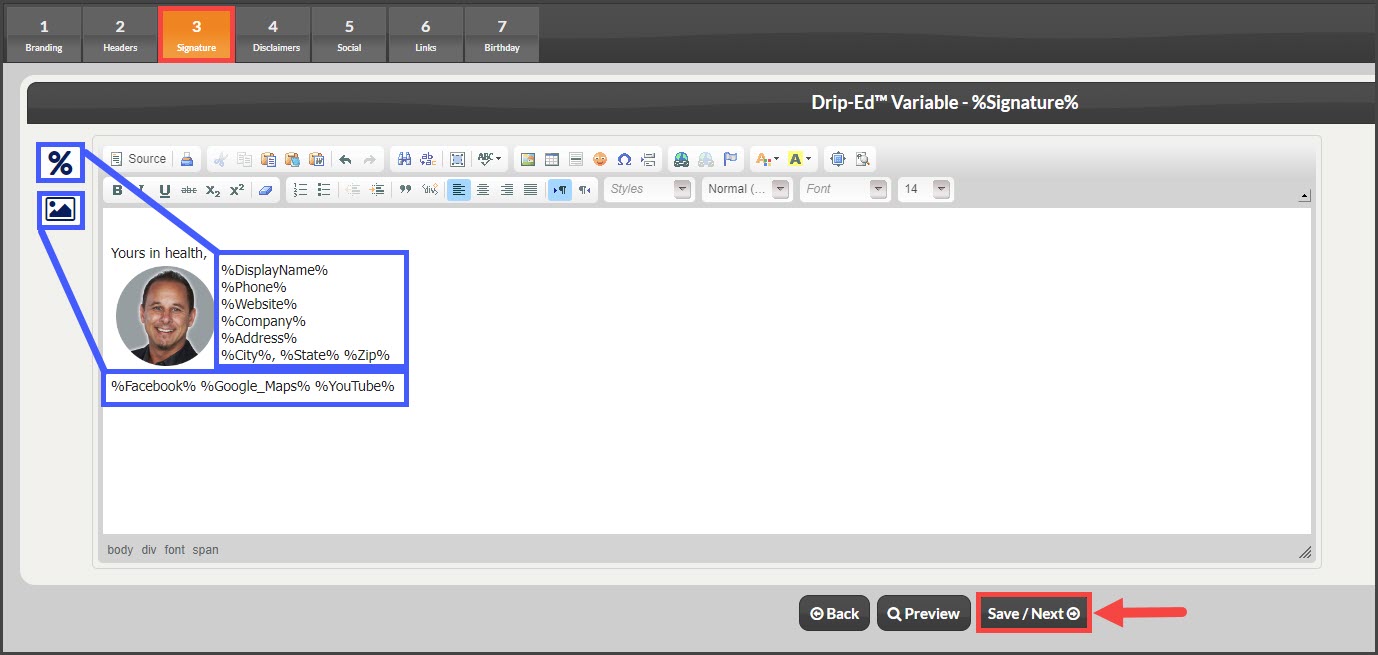
Step 3: Signature
A signature is an ending to your email campaigns and can be inserted into your emails. Create your signature using the [Mail Merge Variables Library]. We recommend you use the variables information in your signature so that in the event that your office information has changed, such as an address or a phone number, it automatically updates the information in your emails once it is updated in your account.
Once completed, click on the [Save/Next] button at the bottom of the page.
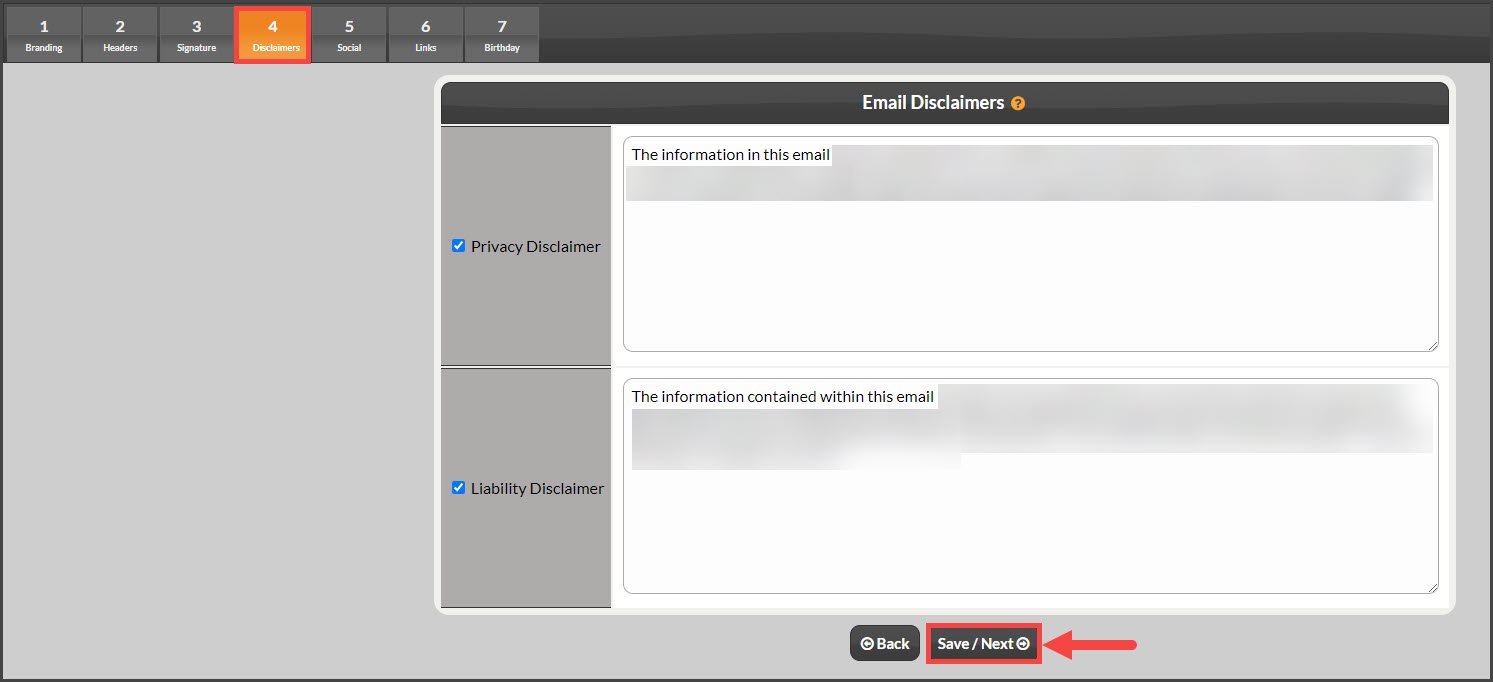
Step 4: Disclaimers
In this step, you may view or edit the disclaimers that appear at the bottom of all of your Campaigns or Broadcast Emails. When finished, select the [Save/Next] button at the bottom of the page.
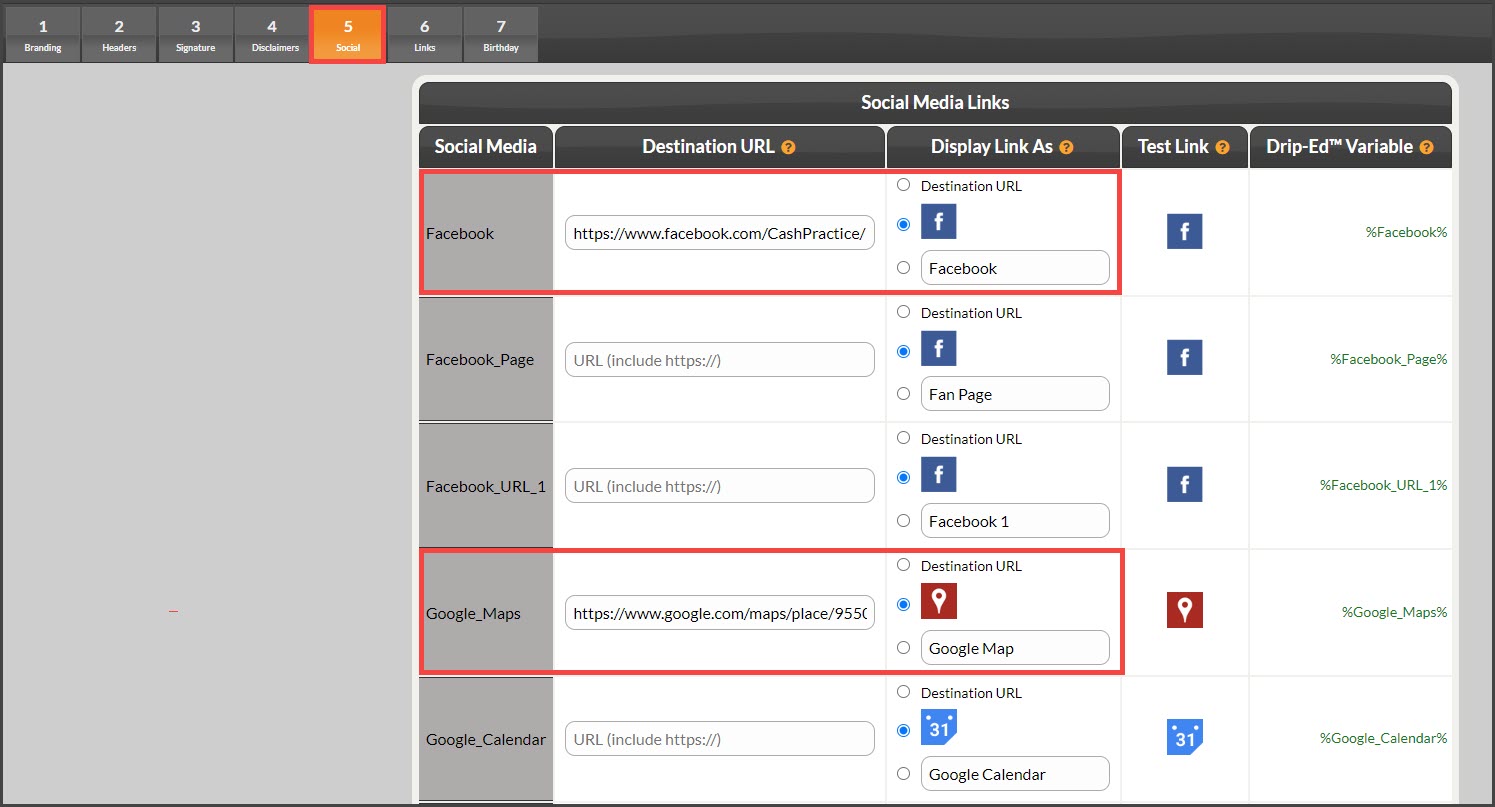
Step 5: Social Media Links
Let's face it, we live in a tech-savvy world where social media is EVERYWHERE! From Facebook, Twitter, Google, YouTube, and...for some of you ...MySpace! Almost everyone nowadays has a social media account of some sort; and what better way to show them to our patients than to create links for these pages in our educational campaign emails! Like the image below,
- Enter the full URL web address (including the https://) into the [URL] column next to the social media company for which that URL is.
- Select either the stock media icon OR select and create a word link to your URL. Example: "Facebook".
Step 6: Links
This step is mainly used for offices that are members of the Lifestyle Matrix Resource Center (LMRC). If this does not apply to you, skip forward to Step 7.
There are links throughout the LMRC campaigns that need the correct links added to this section. See the image example below:
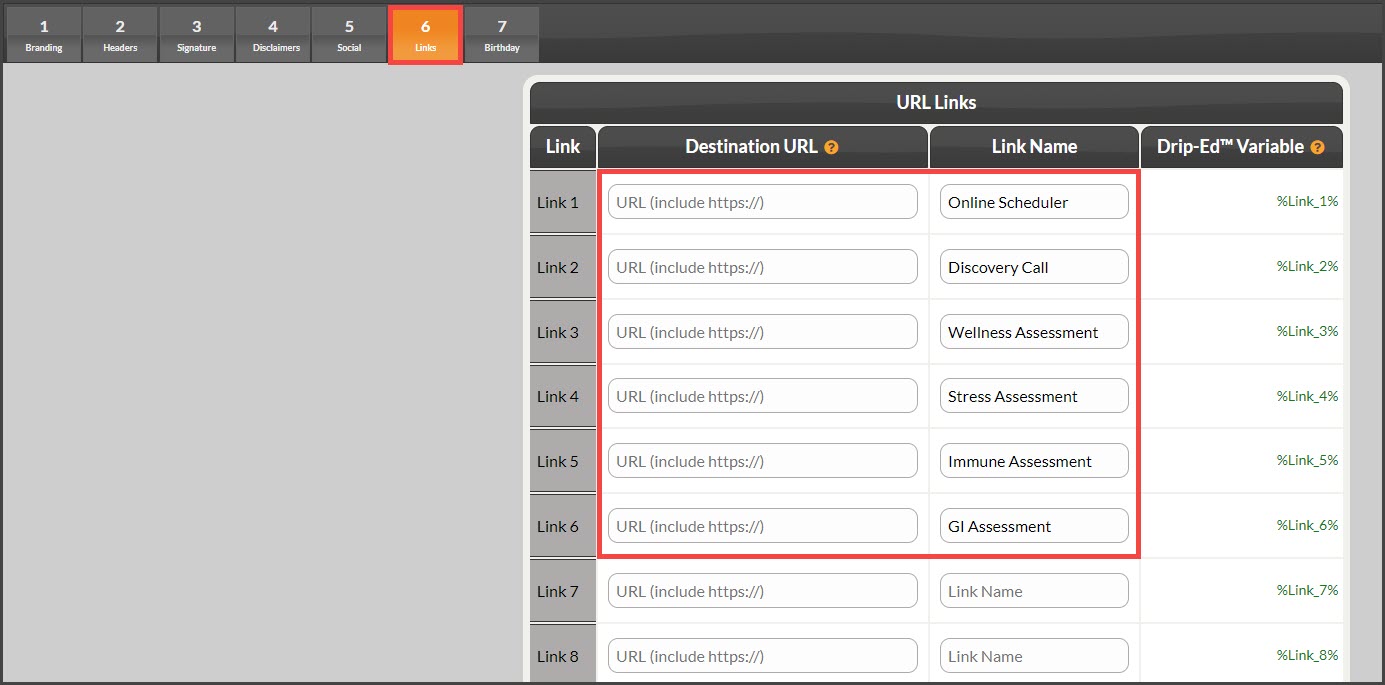
When completed, click on the [Save/Next] button at the bottom of the page.
Step 7: Birthday Campaign
The seventh and final step allows you to automatically assign the [Birthday Card] campaign to trigger an email to be sent on the patient's birthday automatically. To make this easy, we've already pre-loaded the [Birthday Card] campaign into your account. If you want to use a birthday campaign that you've already created, you can select it from the drop-down menu here as well.
NOTE: Turning on the [Birthday Card] campaign will only allow you to send the birthday campaign automatically if the patient has an email address and date of birth stored in their patient record. Click HERE for details.
Once finished, click the [Save] button at the bottom of the page.
