
Step 1: From your Dashboard, hover over the [Systems] menu → click on [Drip Education] → select [Search Campaigns & Broadcasts].

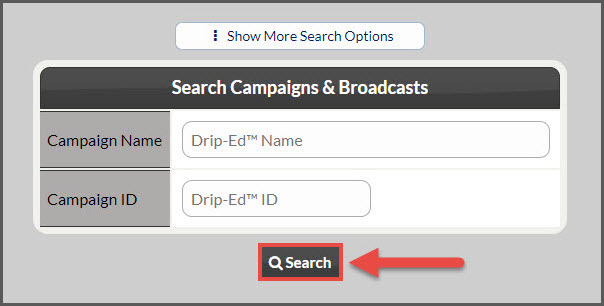
Step 2: Use the search options page to refine the search for the campaign you are looking for → click the [Search] button.
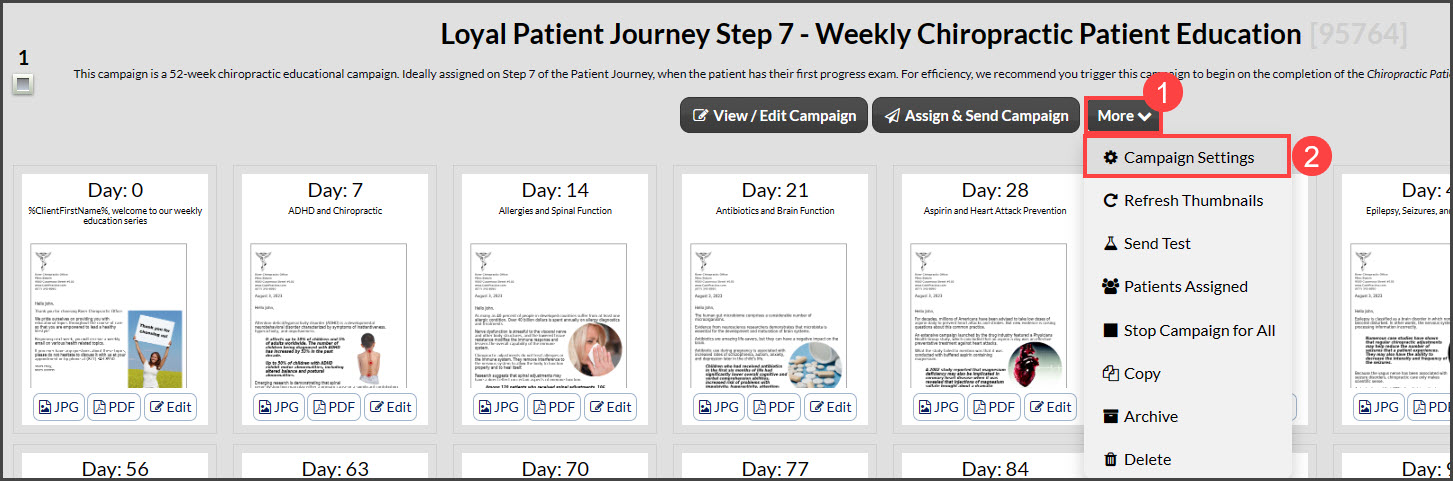
Step 3: Click on the [More] drop-down menu of the campaign → select [Campaign Settings].
Step 4: Here, you can edit any of the [Campaign Settings].
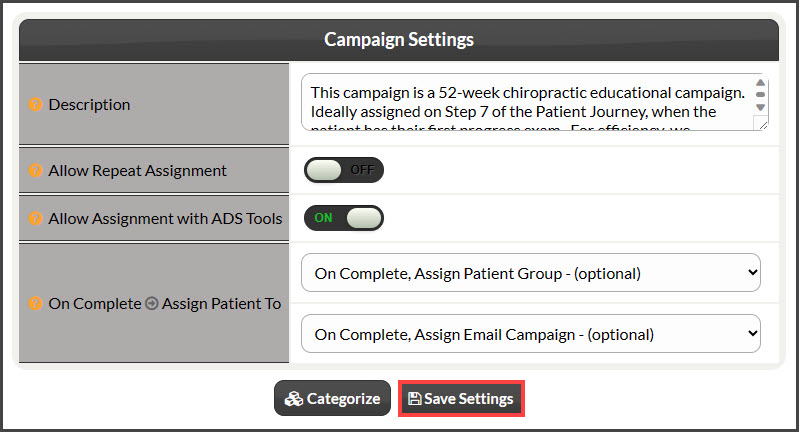
- Description: Describe the campaign/broadcast so you have an easy way to know what it is used for.
- Allow Repeat Assignment: Set to [ON] if you want to allow this campaign/broadcast to be assigned to the same patient repeatedly. For example, you would set to [ON] if you wanted a birthday campaign to repeat every year.
- Allow Assignment with ADS Tools: (this is if you have the Auto-Debit System) Set to [ON] if you want this campaign/broadcast available to be assigned when processing payments or scheduling auto-debits with the Auto-Debit System.
- On Complete → Assign Patient To: Once the campaign/broadcast sends its final email is complete, the patient will automatically be assigned to this Patient Group and this Drip-Ed campaign. If you choose a campaign/broadcast to assign, you can set the number of days to wait before this campaign starts.
- Categorize (Optional): Choose a category to assign this campaign/broadcast to, to help organize the type of email it is.
Step 5: Once all changes are complete, hit the [Save Settings] button.