Simple Swiper and CP Mobile™ transactions need to be assigned to a Patient. Why? So the transaction will be associated with the correct person. Otherwise, you won't be able to Sync the transaction with your third-party software (i.e. ChiroHD, Genesis, Platinum etc.) or be able to Archive the transaction.
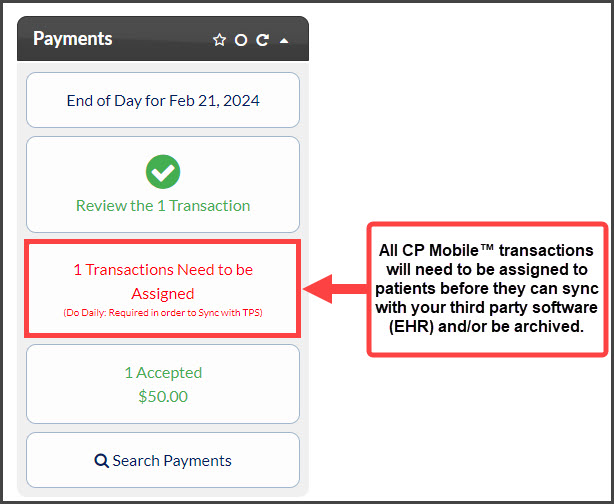
The payments will appear on your Dashboard, under the "Payments" section. Before you can upload payments to your patient management software or archive them, you must assign the transaction to a patient.
The payments will still be processed whether you assign them to a patient or not. We recommend doing this before balancing it out.
Step 1: On the top-right of the Dashboard, you will see the Payments Status Report indicating the number of transactions needed to be assigned → Click on it.
Step 2: The report will open with just the transactions needing to be assigned to patients → Click the [Assign Patient] button.

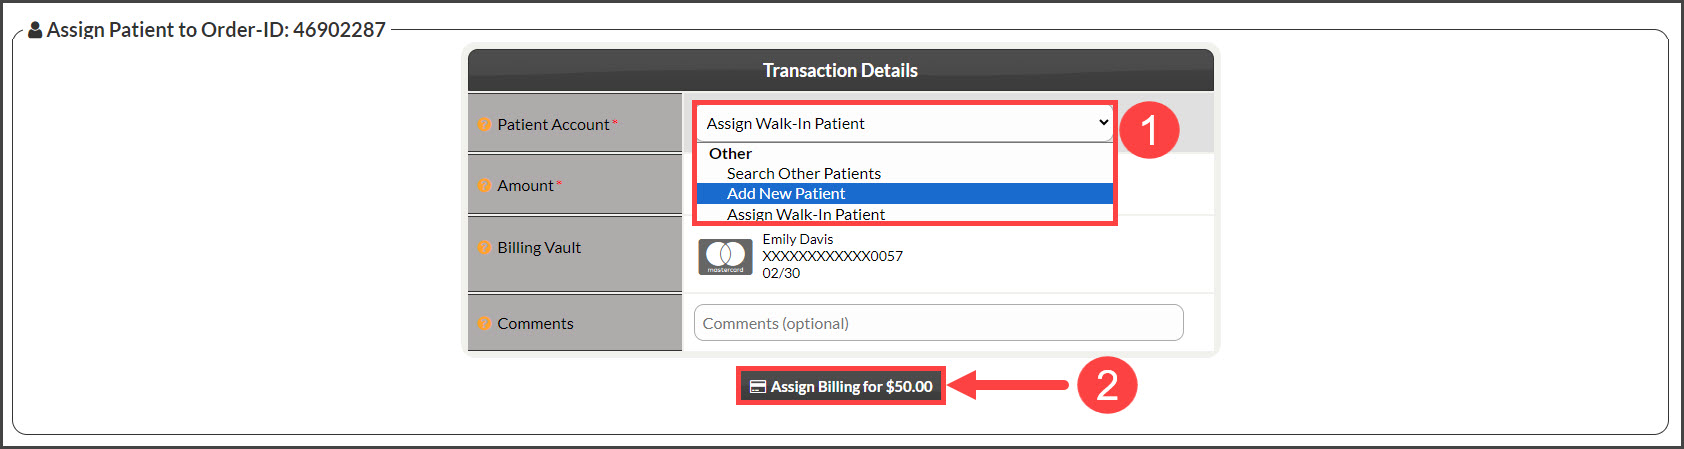
Step 3: The Transaction Details page will open. From the drop-down menu select from:
- Search Other Patients: Search for an existing patient by first or last name. Select the match from the provided menu.
- Add New Patient: Enter any missing information like TPS ID, email, or additional contact information
- Assign Walk-In Patient: This will assign the payment to a generic patient. This is a good option if you will not be seeing this patient again, or they were a true walk-in patient
Proceed with clicking the [Assign Billing for $] button.