
Step 1: To export your Posted Payments Report Generator™, log into your CashPractice.com account
Step 2: Prior to exporting, you will need to make sure each of your patient's accounts has their Eclipse® account number entered inside of Cash Practice®. The Eclipse® account number is the first field on the Add New Patient or edit patient pages. Only patients with an Eclipse® account number will have transactions exported to the download report.
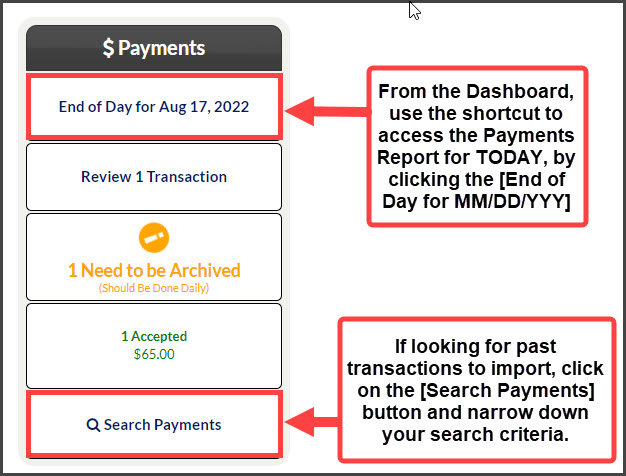
Step 3: From the Dashboard → Click on the [End of Day for MM/DD/YYYY] or select the [Search Payments] button.
- [Search Payments]: Refine your report with the search options for the transaction(s) you would like to download and click the [Search] button.
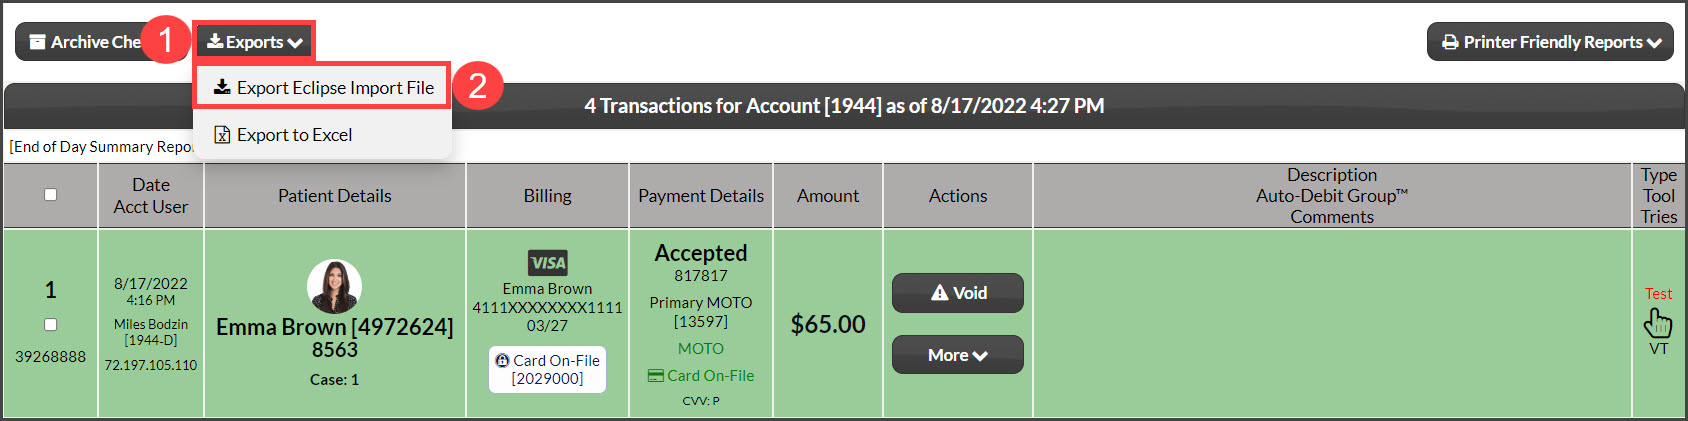
Step 4: Click the [Exports] drop-down menu in the top left corner of the report→ Select [Export Eclipse Import File].
Step 5: Click [OK] to Export Eclipse File, then click on the large gray button that says [Download File for Eclipse Import] and this will automatically open a window to save the file to the Downloads folder on your computer. You do not need to open the file.

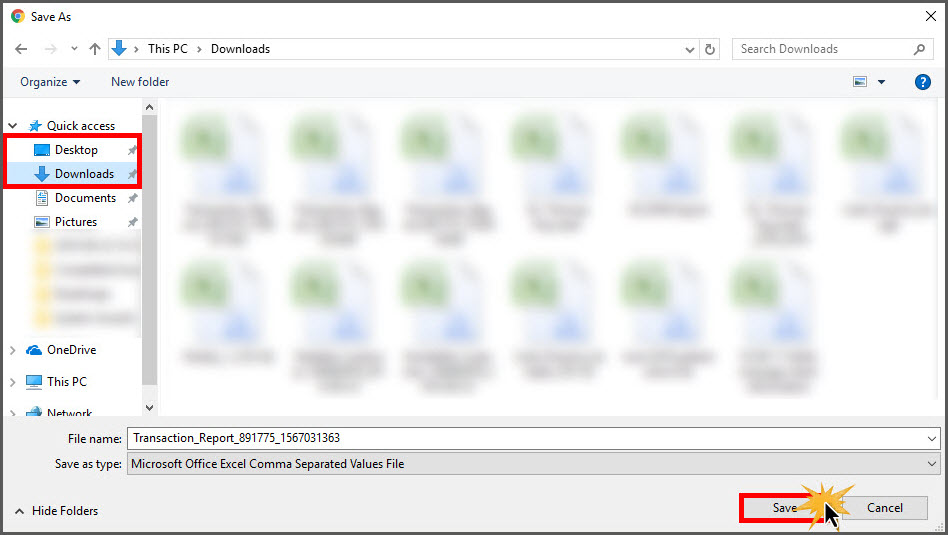
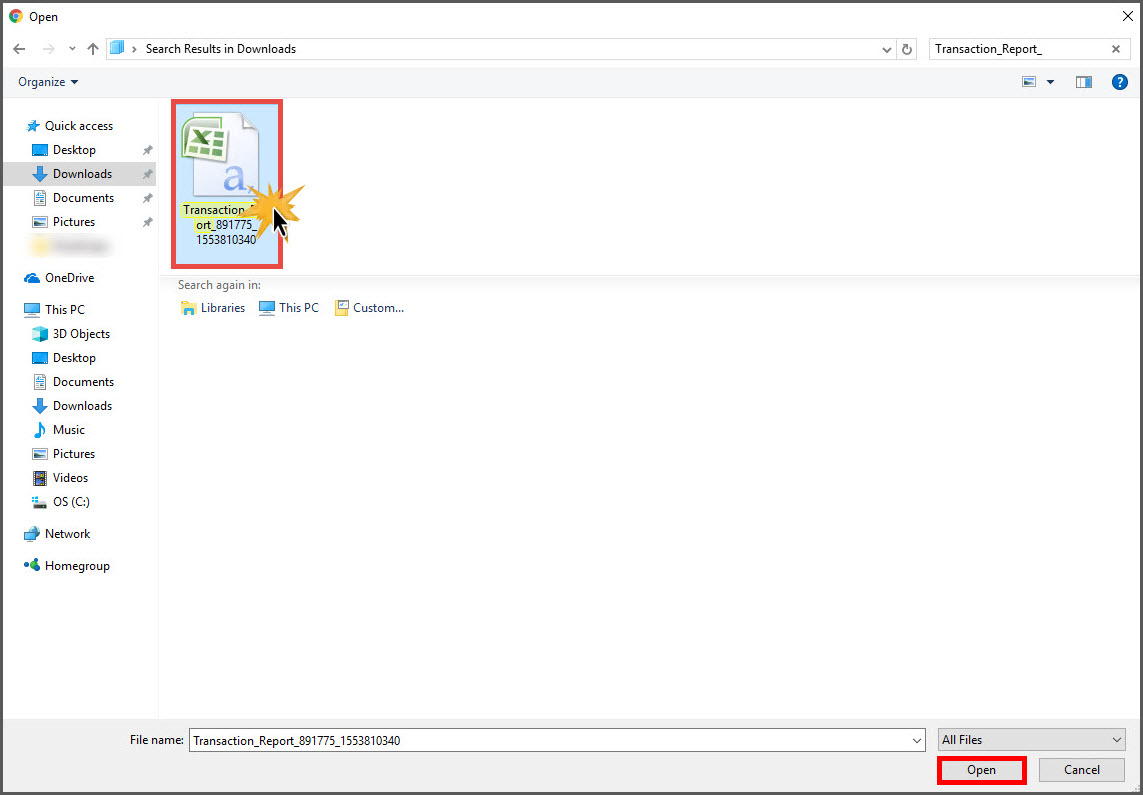
Step 6: The file will be saved to your computer's [Downloads] section so you can import it into Eclipse®. *Note: The image below is for Chrome only. Other browsers may have different options.
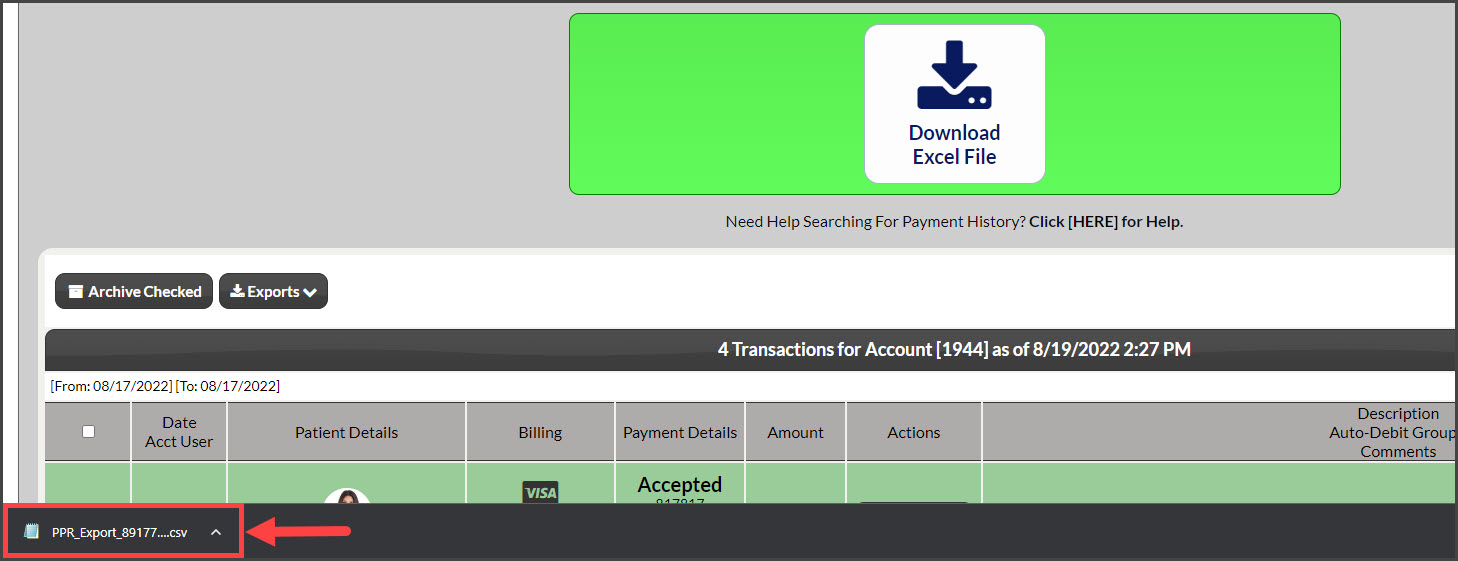
Step 7: Import saved export file to Eclipse®.
Step 8: In the Eclipse® software simply go to [File] → [Data Import / Export] → [Import] → [Third Party] → [Cash Practice CC Transactions].

Step 9: Browse your hard drive and locate the saved Cash Practice® Export File. Select and [Upload]. The utility will import a transaction into a patient's ledger only once. So you do not have to worry about accidentally importing the same transaction multiple times.
Step 10: Once you import the file, it is also a good practice to delete the file from your hard drive. There's no need to save it!