
Click the Self Help button to use the Cash Practice® walkthrough when logged into your account.

Getting started:
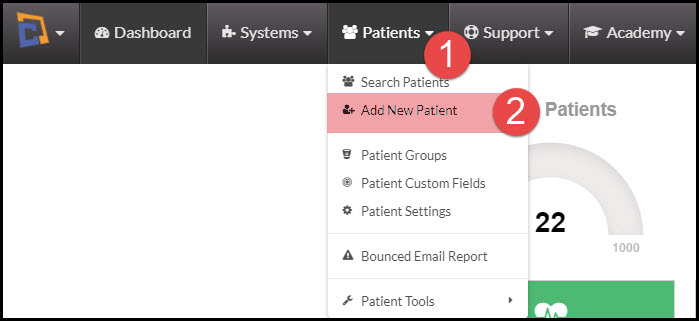
Step 1: From the navigation menu, select [Patients] menu→ Select [Add New Patient].
Step 2: Enter as much information as you would like to save. (At a minimum add the first name, last name, email address, date of birth & gender as this will help you when running exams and assigning birthday email campaigns.) Click on the [Show More] button to access more fields.
- If you have the Auto-Debit System®, you may enter the billing information as well as the email alert settings.
- If you have the Drip-Education® System, you may also assign the patient to the Birthday Card Campaign by checking the box next to their birthday when entered.

Step 3: Click [Save] at the bottom of the page. The screen will reload to show the patient record has successfully been added. You will then have access to view the newly created account or process payments.

Please Note: When processing payments through the Auto-Debit System®, if the patient is not already in the system, you will have the option to add the patient directly from within those tools.