
Click the Self Help button to use the Cash Practice® walkthrough when logged into your account.

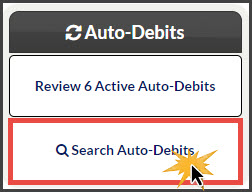
Step 1: From the right side of the Dashboard, click on the [Search Auto-Debits] button.
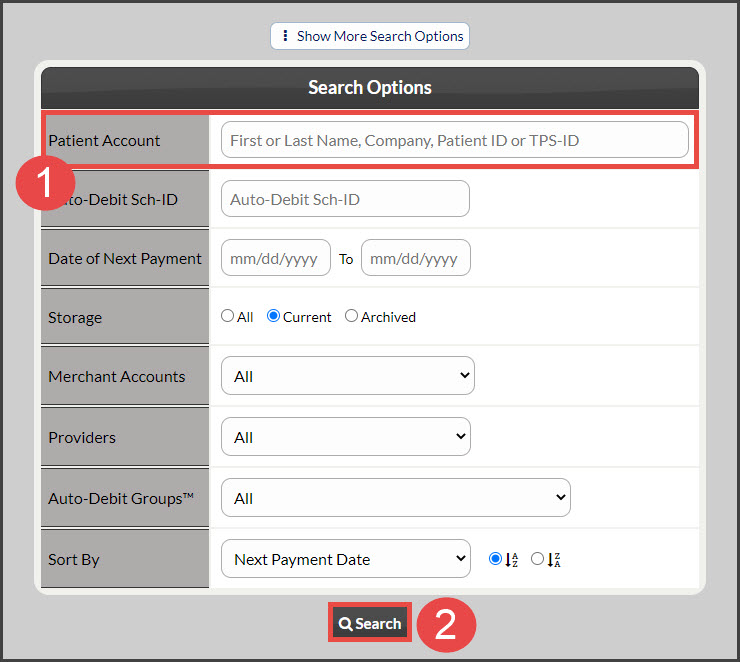
Step 2: Attach a [Patient Account] → [Search].
Step 3: Click on the [Edit Auto-Debit] button.

Step 4: If you need to edit the dollar amount, the payment date, or both, make the changes now.

Note: Whether you are editing the dollar amount, the payment date, or both, the system will produce a pop-up alert, stating that there will be a checkbox to check off, IF you want the changes to affect just the next payment ONLY. Click [OK] on the alert.

Step 5: Check the box to change the amount and/or date of the next payment ONLY. Click [OK] on the next pop-up alert.

Step 6: Click on the [Update Auto-Debit] button. A new Payment Installment Authorization and Payment Schedule will be produced. Click on the logo at the top, to print the one-page document.
